Best Overhead Microphones To Record Your Drum Sessions
Overhead mics do more work than any other microphone in a drum recording setup. They capture the full stereo image of the kit — cymbals, snare tone, tom resonance, and the room itself. A pair of well-placed overheads can carry an entire mix on their own. A mismatched or poorly chosen pair will fight you at every stage of mixing.
This guide covers which overhead mics are worth buying at different budget levels, how to position them, and what actually matters in the specs. If you are also building out a full mic collection, our guide to condenser microphones under 200 covers options that overlap well with some of the budget picks here.
Why Overheads Matter More Than Close Mics
Many drummers start by close-miking individual drums and treat overheads as an afterthought. That is backwards. In most professional recordings, the overhead pair provides the foundational sound of the kit. Close mics on the snare, kick, and toms are used to supplement and reinforce — not replace — what the overheads capture.
A good overhead pair gives you:
- Stereo width — cymbals and toms spread naturally across the stereo field
- Cymbal detail — the shimmer, decay, and stick definition that close mics cannot capture
- Kit cohesion — all the drums sounding like they exist in the same room, at the same time
- Room tone — the natural reverb and ambience of your recording space
If your overheads sound bad, no amount of close-miking will fix the mix. If your overheads sound great, you can often get away with just a kick mic and nothing else.
Best Overhead Drum Mics by Budget
Budget: Rode M5 Matched Pair
The Rode M5 is the most recommended entry-level overhead mic in drum recording forums and for good reason. It is a small-diaphragm condenser (SDC) that comes as a factory-matched pair, which eliminates phase issues from mismatched sensitivity between left and right channels.
The M5 handles high SPL well (up to 140 dB before clipping), which matters when you are positioned two to three feet above a crash cymbal hit at full force. The frequency response runs from 20 Hz to 20 kHz, so you get both the low-end body of toms and the high-frequency air of cymbals.
Where the M5 falls short is in the upper mids. Cymbals can sound slightly harsh on brighter kits, and you may need some EQ work above 8 kHz during mixing. But for a first pair of overheads, the M5 punches well above its weight class. Many professional engineers keep a pair as backups.
Best for: Home studios, first-time drum recording, practice room captures.
Budget: Samson C02 Matched Pair
The Samson C02 is another matched pair option at the entry level. These pencil condensers are lightweight and come with a carrying case. They work well enough for basic overhead duties and are a reasonable choice if you are just getting started with home recording.
The main drawback is higher self-noise compared to the Rode M5, and quieter sources will expose that. For loud drum recording this is less of an issue, but for quieter jazz brushwork or ghost notes, you will notice the noise floor. If you are building a beginner drum set recording rig on a tight budget, the C02 gets you started.
Best for: Absolute beginners, secondary overhead pair, rehearsal room recordings.
Mid-Range: Lewitt LCT 040 MATCH
The Lewitt LCT 040 MATCH is a factory-matched pair of small-diaphragm condensers that consistently gets high marks from audio engineers. These are precision-calibrated at the Lewitt factory in Austria, meaning the sensitivity and frequency response between the two mics is nearly identical.
At only 44 grams each, they are among the lightest overhead mics available — useful when your boom stand is already at its weight limit. The cardioid pattern is tight and well-defined, which helps reject bleed from guitar amps or PA monitors in a live room.
The LCT 040 MATCH handles up to 135 dB SPL, which is adequate for most overhead positions. If you are a particularly hard hitter, you may want to raise them a few inches higher than usual to give yourself headroom.
Best for: Home and project studios that want a genuine step up from budget pairs without spending a fortune.
Mid-Range: sE Electronics sE7 Matched Pair
The sE Electronics sE7 is a versatile matched pair that works well on drums, acoustic guitar, and piano. The build quality is solid — metal bodies, gold-plated XLR connectors, and an included stereo mounting bar.
The sE7 has a slightly warmer character than the Rode M5 or Lewitt, which can be an advantage if your cymbals tend toward brightness. It also ships with a low-cut filter switch on the body, letting you roll off low-frequency rumble from floor vibrations or air conditioning without needing to do it in your DAW.
Best for: Multi-purpose studio use, drummers who double as singer-songwriters and need overheads that also work on acoustic instruments.
Professional: sE Electronics sE8 Stereo Pair
The sE Electronics sE8 is the serious upgrade from the sE7. It features a handcrafted gold-sputtered capsule, two switchable pad settings (10 dB and 20 dB), and two low-cut filter options.
The dual pad options are genuinely useful for overhead work. A heavy hitter in a small room can easily push past the headroom of most SDCs — having 20 dB of pad available means you can place the sE8 closer to the kit for a tighter sound without distortion.
The dynamic range on the sE8 is wider than what you typically find in a pencil condenser, which gives you more detail in both the softest ghost notes and the loudest crash hits. It also comes with a reinforced metal carry case, shock mounts, and windscreens.
Best for: Serious home studios, project studios, live recording sessions.
Professional: Audio-Technica AT4041SP
The Audio-Technica AT4041SP is a matched pair of small-diaphragm condensers that has been a studio staple for over a decade. The sound is detailed and natural with a smooth high end — cymbals ring out without harshness, and snare crack comes through clearly without being brittle.
The fixed cardioid pattern is tight and well-controlled, and the rugged build quality means these will survive years of studio use. The AT4041SP is often compared favorably to mics costing significantly more.
Best for: Studios that want a long-term investment in a reliable, great-sounding overhead pair.
High-End: Neumann KM184 Stereo Set
The Neumann KM184 is the overhead mic you will find in professional studios worldwide. The sound is transparent and accurate — it captures what is actually happening at the kit without adding color or hype.
The KM184 has a slight presence rise around 9 kHz that adds definition to cymbals without harshness. The off-axis rejection is excellent, which keeps bleed from other instruments in the room to a minimum. These are the mics that engineers reach for when the goal is to capture the drums exactly as they sound in the room.
The downside is obvious: they are a premium investment. But if you are building a studio that will see years of use, the KM184 is a mic you buy once.
Best for: Professional studios, critical recording applications, engineers who want the most transparent overhead sound available.
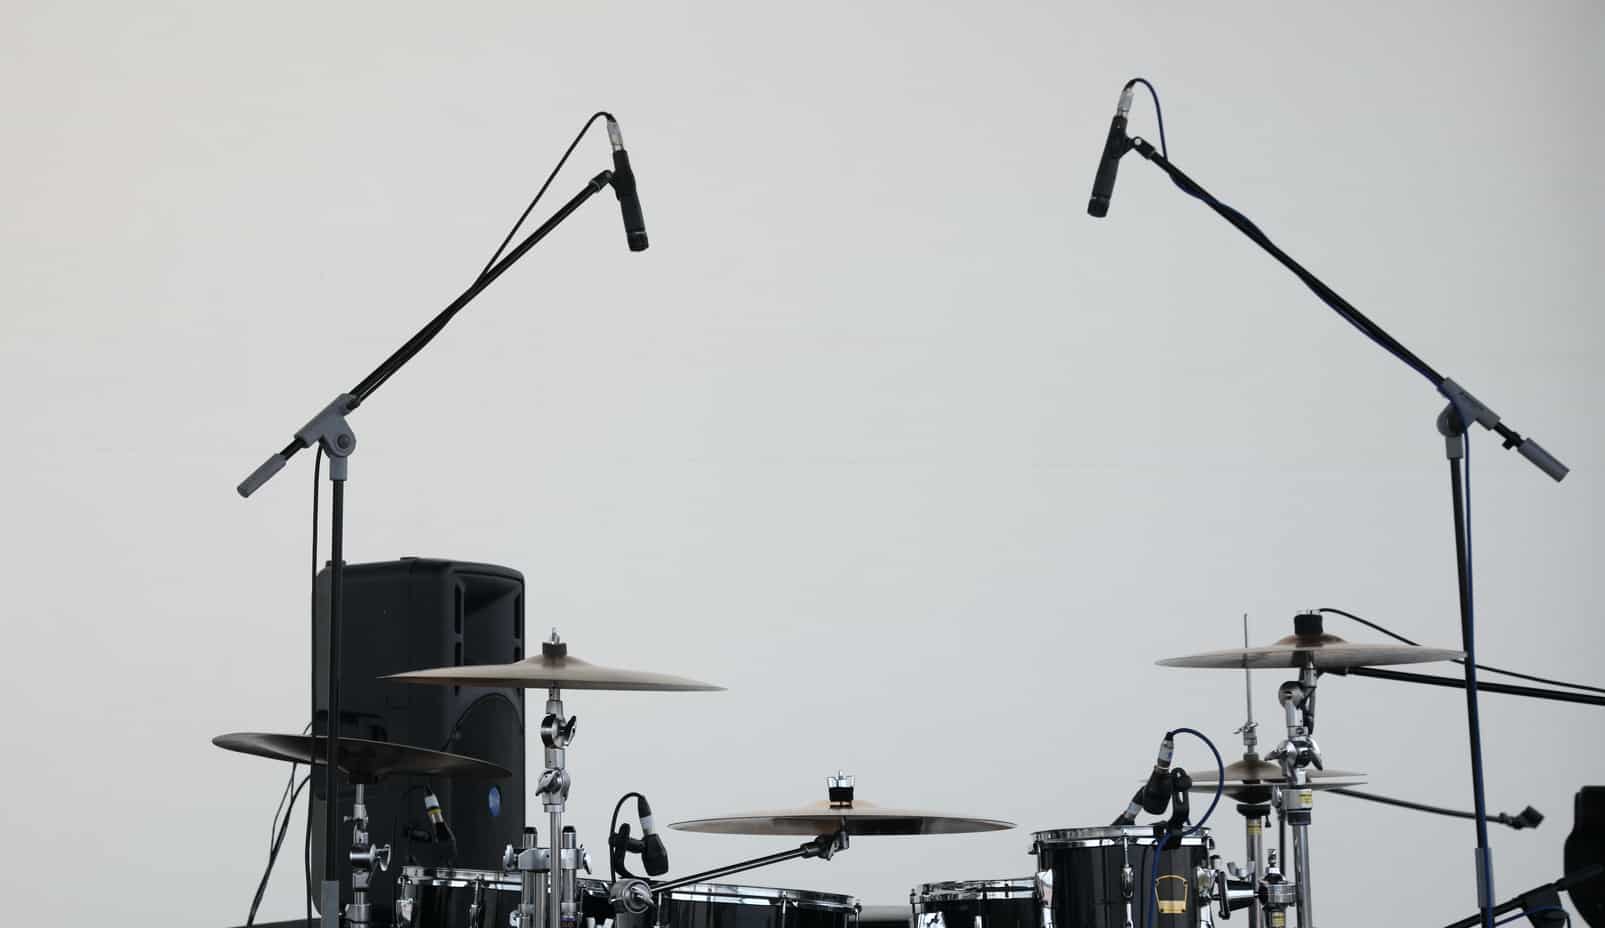
Overhead Mic Placement Techniques
Choosing the right mic is half the equation. The other half is where you put them. Placement determines stereo width, phase coherence, and how much of each drum element ends up in the overhead track.
Spaced Pair (A/B)
Place two mics roughly three to five feet apart, each positioned above the left and right sides of the kit, typically two to three feet above the cymbals. This is the most common overhead technique and produces a wide, natural stereo image.
The critical rule: measure the distance from each mic to the center of the snare drum. Both distances should be equal. If they are not, the snare will arrive at each mic at slightly different times, causing comb filtering — a hollow, phased-out sound that is difficult to fix in post.
Tip: Use a piece of string or a mic cable cut to length. Hold one end at the snare and confirm both mics are equidistant.
XY (Coincident Pair)
Place both mics at the same point, angled 90 to 120 degrees apart, with the capsules as close together as possible without touching. This technique produces a narrower stereo image than spaced pair but has excellent phase coherence because both mics are essentially at the same point in space.
XY is a good choice in small rooms or when you are recording with other instruments in the same space and need to minimize bleed. The tradeoff is less dramatic stereo width.
ORTF
A variation between spaced pair and XY. Position the mic capsules 17 cm apart, angled outward at 110 degrees. This replicates the spacing of human ears and produces a stereo image that sounds natural and dimensional.
ORTF is favored by many European recording engineers and works particularly well in rooms with good acoustics. It offers better stereo width than XY while maintaining tighter phase coherence than a wide spaced pair. The Audio Engineering Society has published extensive research on this and other stereo miking approaches.
Recorderman Technique
A placement method specifically designed for drums. One mic goes directly above the snare, pointed down at the kit. The second mic goes over the drummer’s right shoulder (for a right-handed player), pointed at the snare from that angle.
The key constraint: both mics must be exactly the same distance from the center of the snare. This technique was developed by a home recording engineer and has become widely used because it produces a balanced, usable drum sound with minimal phase problems. It tends to capture more snare and kick than a standard spaced pair, which some genres benefit from.
Glyn Johns Method
Named after the legendary producer and engineer who recorded Led Zeppelin, The Who, and The Rolling Stones. This uses one mic directly above the kit and a second mic positioned to the side, near the floor tom, at the same height as the snare.
Both mics must be equidistant from the snare center. The Glyn Johns method produces a punchy, slightly asymmetric stereo image that works especially well for rock and blues. It captures more body and less cymbal wash than a standard overhead pair, which is why Johns favored it for hard-hitting drummers like John Bonham and Keith Moon.
If you are recording rock or blues drums, this technique is worth experimenting with. Read more about panning choices for these setups in our guide to panning drums.
Condenser vs. Dynamic: Which Type for Overheads?
Short answer: condensers. Nearly all professional overhead applications use condenser microphones, specifically small-diaphragm condensers (SDCs). Here is why.
Condenser mics have a thin, light diaphragm that responds quickly to transients — the sharp attack of a stick hitting a cymbal or snare. This transient accuracy is what gives overhead recordings their clarity and detail. They also have a wider frequency response, typically 20 Hz to 20 kHz, which captures both the low-end body of toms and the high-frequency air of cymbals.
Condensers require phantom power (usually 48V) supplied by your audio interface or mixer. Make sure your interface has enough phantom-powered inputs before buying. If you are connecting via XLR, our XLR cable guide covers what to look for in cable quality.
Dynamic mics are tougher, handle extreme SPL, and do not need phantom power. But their heavier diaphragm responds more slowly to transients, which means cymbals lose their shimmer and detail. Dynamics are excellent for close-miking snare and kick drums, but they are a poor choice for overheads in almost every situation.
The one exception: if you are recording in an extremely loud live environment where condensers are clipping even with pads engaged, a pair of dynamics placed close to the cymbals can work as a last resort. But for studio and controlled live recording, always use condensers.
What to Look For in Overhead Mic Specs
Matched Pairs
Always buy overheads as a matched pair when possible. Factory-matched mics have been tested to ensure their sensitivity, frequency response, and polar pattern are within a tight tolerance of each other. This gives you a cleaner stereo image with less phase weirdness.
Buying two individual mics of the same model is not the same thing. Manufacturing tolerances mean two “identical” mics off the production line can sound noticeably different, and that difference shows up as an uneven stereo image.
Maximum SPL
Cymbals are loud. A crash hit at close range can exceed 120 dB. Your overhead mics need to handle this without distorting. Look for a maximum SPL rating of at least 130 dB. Mics with switchable pads (like the sE8’s 10/20 dB options) give you extra headroom.
Self-Noise
Self-noise (or equivalent noise level) is the mic’s own noise floor. For overheads, anything under 20 dB(A) is good. Under 15 dB(A) is excellent. This matters most for quieter playing — jazz brushwork, light cymbal work, and ghost notes will expose a noisy mic.
Polar Pattern
Cardioid is the standard choice for overheads. It picks up sound from the front and sides while rejecting sound from the rear, which helps control bleed from other instruments in the room.
Omnidirectional mics capture sound from all directions and can produce a more natural, open sound — but they also pick up everything else in the room. Use omni overheads only in well-treated, isolated spaces.
Frequency Response
A flat, extended frequency response from 20 Hz to 20 kHz is ideal. Some mics have a deliberate presence peak in the 8-12 kHz range, which adds “air” and cymbal sparkle. Whether that is desirable depends on your cymbals and your taste — brighter cymbals paired with a bright mic can become fatiguing.
Common Overhead Recording Mistakes
Mics too close to cymbals. Positioning overheads right above the cymbal bells gives you harsh, washy sound with no kit balance. Pull them back to at least 18 inches above the highest cymbal for a more balanced capture.
Unequal distance from snare. This is the single most common cause of thin, phased-out overhead sound. Measure. Every time.
Ignoring the room. Overheads capture your room acoustics whether you want them to or not. If your room sounds bad (flutter echo, standing waves, excessive brightness), treat it before blaming your mics. Even basic acoustic treatment — a few absorption panels at first reflection points — makes a significant difference.
Using mismatched mics. Even two mics of the same model from different production runs can have enough variance to cause subtle phase issues. Buy matched pairs.
Forgetting high-pass filtering. Unless you specifically want low-end rumble from the room in your overheads, engage the high-pass filter (if your mic has one) or apply one in your DAW around 80-100 Hz. This cleans up the low end and gives your kick mic more room in the mix.
Frequently Asked Questions
How many overhead mics do I need?
Two — a stereo pair. This is standard for nearly all recording situations. Some engineers add a third centered overhead (sometimes called a “mono overhead” or “center image mic”), but that is an advanced technique for specific situations.
Can I use large-diaphragm condensers as overheads?
Yes, and some engineers prefer them. Large-diaphragm condensers (LDCs) like the AKG C214 or Audio-Technica AT2020 can work as overheads, especially for genres that benefit from a warmer, less detailed top end. The tradeoff is that LDCs have a wider pickup pattern and more proximity effect, which can make positioning trickier. For most applications, SDCs remain the standard choice. If you are exploring LDCs for vocal recording too, our best vocal mic under 100 guide has relevant options.
Do I need a separate preamp for overhead mics?
Not necessarily. Most modern audio interfaces have built-in preamps that provide clean 48V phantom power and enough gain for condenser overheads. If you are recording at a professional level and want to shape the tone further, an external preamp can add character — but it is not required to get good results.
What about ribbon mics as overheads?
Ribbon mics (like the Coles 4038 or AEA R84) produce a warm, vintage sound that some engineers love on overheads, particularly for jazz and blues. They naturally roll off the extreme high end, which can tame harsh cymbals. However, ribbons are fragile, expensive, and have lower output than condensers — they require a preamp with significant clean gain. They are a specialized choice, not a general recommendation.
How high should overhead mics be placed?
Start at about two to three feet above the highest cymbal. Higher placement captures more room sound and a blended kit image. Lower placement gives you more direct cymbal attack and detail but less kit balance. Experiment with height while monitoring through headphones until the snare, toms, and cymbals are balanced in the overhead image.
Final Thoughts
Your overhead mics set the foundation for your entire drum sound. Investing in a quality matched pair — whether that is a Rode M5 at the budget end or a Neumann KM184 at the professional level — will improve every recording you make.
If you are just getting started, grab a Rode M5 pair or Lewitt LCT 040 MATCH, learn the spaced pair or Recorderman placement technique, and focus on getting the distance-from-snare measurement right. That combination will get you better results than an expensive pair of mics placed carelessly.
For drummers building out a full recording setup, also consider your drum head choices and practice pad routine — the sound that goes into the mic matters as much as the mic itself. And if you are looking at a jazz-specific kit, lighter cymbals and tuning choices will change which overhead mic characteristics matter most to you.