How to Rehair a Violin Bow
Rehairing a violin bow is one of the most common maintenance tasks string players face. A professional rehair typically costs $50 to $80 and takes about 30 minutes in a shop. Doing it yourself can save money, but it requires patience, the right materials, and an honest assessment of your skill level.
This guide walks through the full process. It also covers when rehairing makes sense, when you should leave it to a luthier, and how to avoid damaging your bow along the way.
Should You Rehair Your Own Bow?
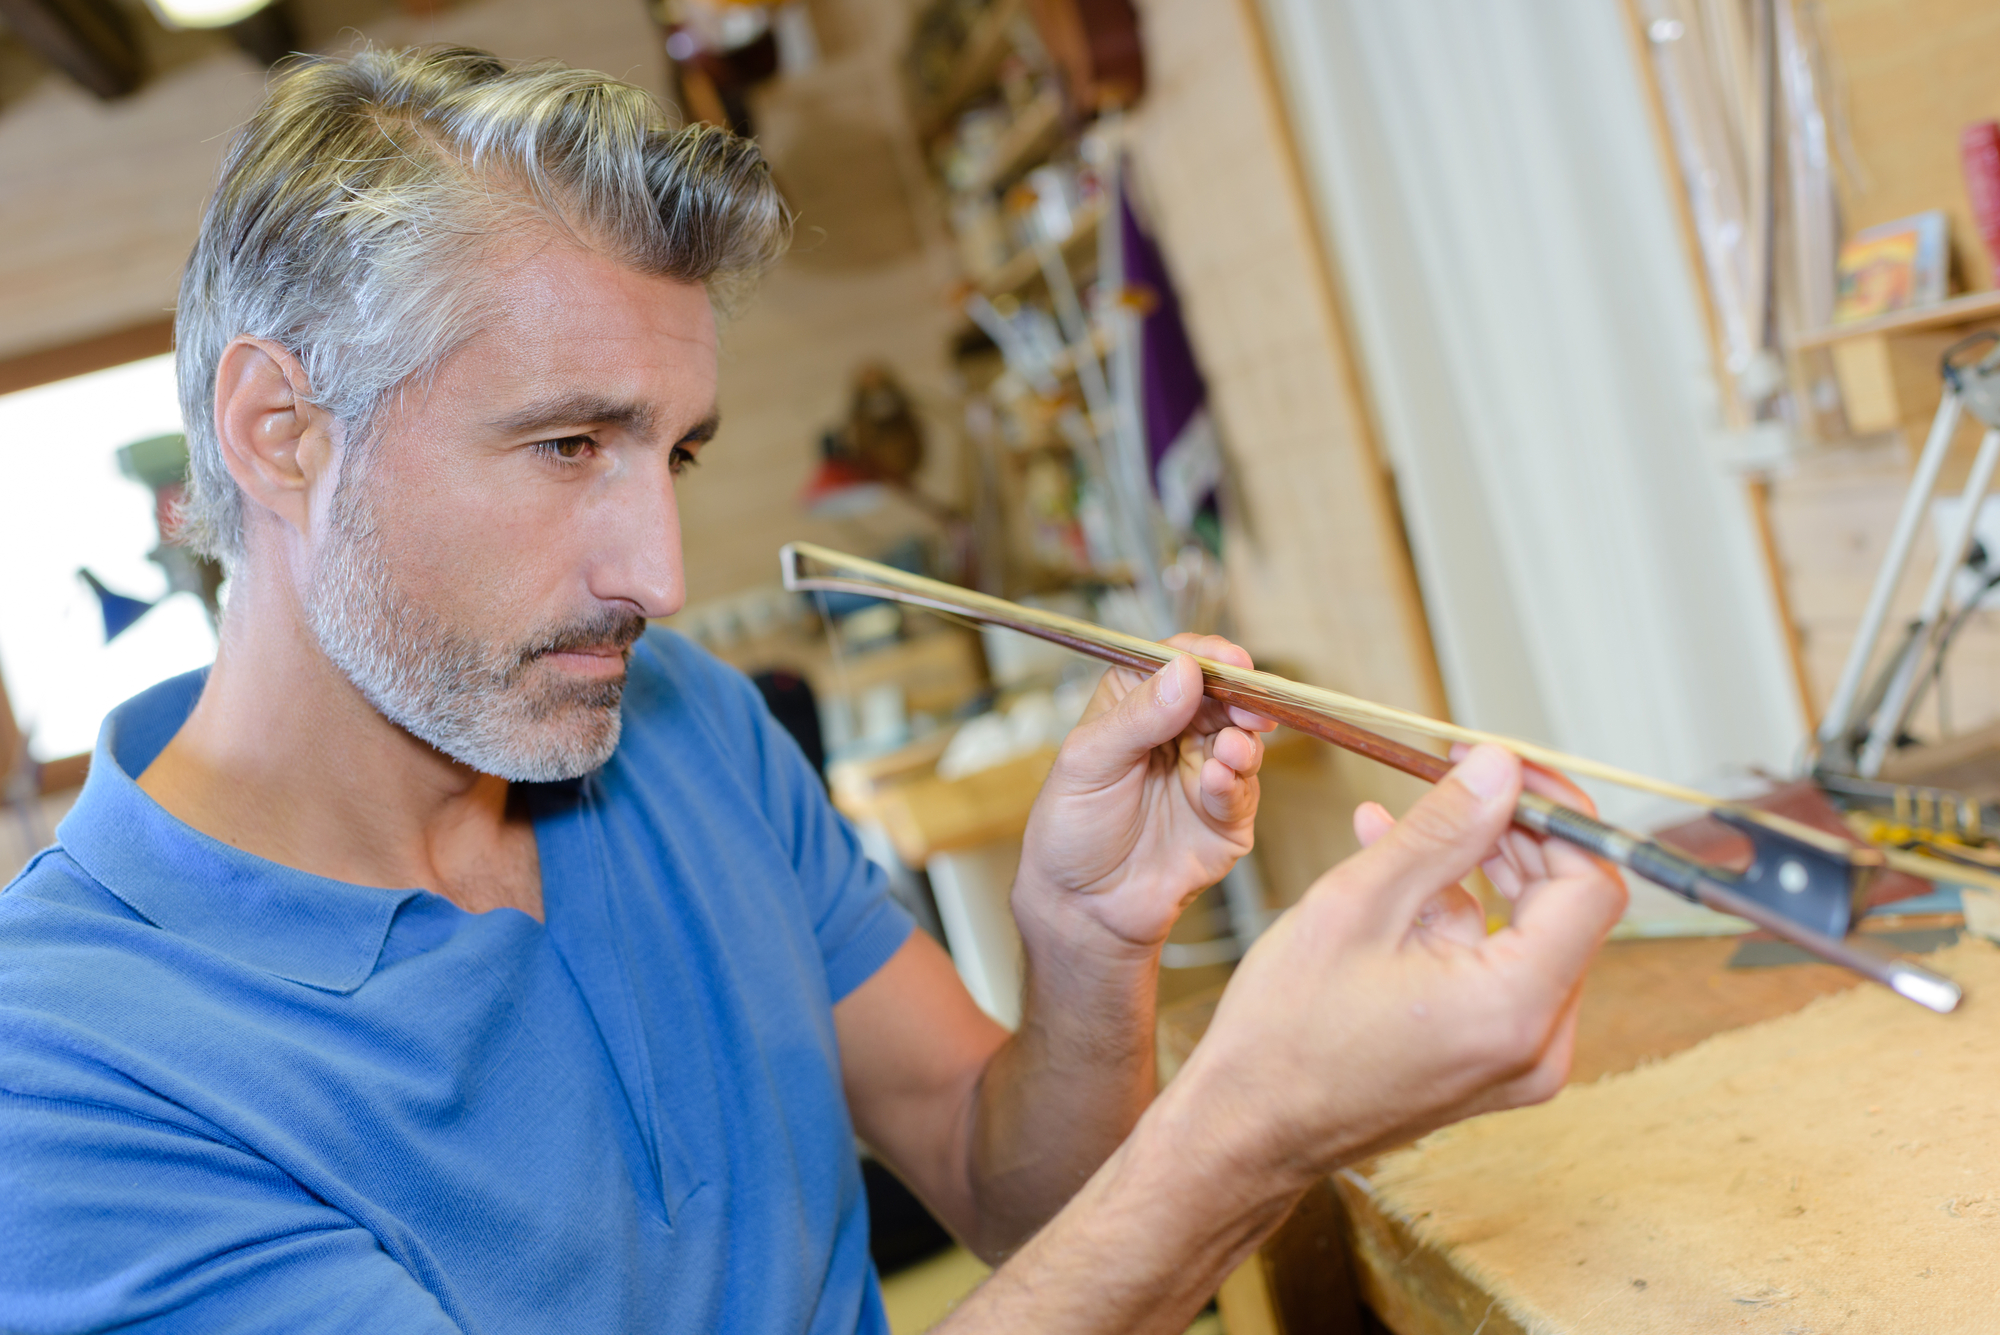
Before diving in, a reality check. Professional bow makers on forums like Violinist.com and Maestronet consistently warn that DIY rehairing carries real risk. Getting the hair parallel, fitting plugs and wedges correctly, and achieving even tension on both sides of the hair ribbon takes hundreds of repetitions to master.
If you own a bow worth more than a few hundred dollars, take it to a professional. A bad rehair can crack the tip mortise, warp the stick, or produce uneven tension that ruins your sound. DIY rehairing makes the most sense for student-grade or inexpensive violin bows where the learning experience outweighs the risk.
That said, understanding the process is valuable even if you never do it yourself. It helps you evaluate the quality of a professional rehair and communicate better with your luthier.
When Does a Bow Need Rehairing?
The horsehair on a violin bow has microscopic scales that grip rosin and create friction on the strings. Over time, these scales wear smooth, and the hair loses its bite.
Signs your bow needs rehairing:
- Loss of grip. The bow slides on the strings even with fresh rosin.
- Excessive rosin use. You’re applying more rosin than usual with diminishing results.
- Thinning hair. Enough individual hairs have broken that you can see visible gaps in the ribbon.
- Discoloration. The hair has turned yellow or gray from accumulated oils and dirt.
- Uneven tension. One side of the hair ribbon feels tighter than the other.
Professional players who practice several hours daily typically rehair every 3 to 6 months. Serious amateurs might go 6 to 12 months. Casual players can often stretch to a year or more. Climate matters too — high humidity causes hair to stretch, while dry conditions make it contract and can lead to breakage.
For more on keeping your instrument in top shape between rehairs, see our violin maintenance guide.
What You Need
Essential materials
- Horsehair — A hank of about 150 to 200 strands of unbleached white horsehair, available from violin supply shops or online retailers. Avoid cheap synthetic substitutes; real horsehair holds rosin far better due to its natural scale structure.
- Bow rehairing jig or clamp — Holds the bow securely while you work. Some players improvise with padded clamps, but a purpose-built jig reduces the chance of damage.
- Wedge material — Small hardwood wedges (maple is standard) that secure the hair inside the tip and frog mortises. Your old wedges may be reusable if undamaged, but have replacements on hand.
- Strong thread — For binding the ends of the hair bundle before inserting into the mortise.
- Rosin — To coat the new hair after installation. New hair is completely smooth and will not produce sound without a thorough initial rosining.
Tools
- Sharp scissors
- Needle-nose pliers
- Fine-toothed comb
- A small flathead screwdriver or awl
- Craft knife or razor blade
- Super glue (cyanoacrylate) — optional, for securing thread wraps
- A clean, lint-free cloth
- A small container of water (for wetting the hair)
Step-by-Step Rehairing Process
Step 1: Remove the Frog and Old Hair
Loosen the bow screw completely and slide the frog off the stick. Set the screw and frog aside on a clean surface.
Using sharp scissors, cut the old hair near (not at) each end, leaving a short stub you can grip. Remove the wedges from both the tip mortise and the frog mortise. Use a small screwdriver or awl to carefully pry out each wedge. Take note of how the wedges are oriented — you will need to replicate this when inserting the new hair.
Pull the remaining hair stubs out with needle-nose pliers. Clean any old glue, rosin dust, or debris from inside both mortises. This is also a good time to wipe down the entire stick and frog with a clean cloth.
Tip: Take photos before disassembly. Having a visual reference of how the wedges sit and where the ferrule sits will save you frustration later.
Step 2: Prepare the New Horsehair
Measure the length you need by holding the hair against the bow from tip to frog, adding about 2 inches of extra length at each end for securing.
Comb the hair thoroughly with a fine-toothed comb to remove tangles, kinks, and any hairs that are significantly thicker or thinner than the rest. You want a uniform bundle.
Bind one end of the bundle tightly with strong thread, wrapping about a quarter inch from the end. The bound end should be compact enough to fit snugly into the mortise. Some players apply a tiny drop of super glue to the thread wrap for extra security.
Dip the hair in lukewarm water and comb it flat. Wet hair is easier to manage and will lie more evenly in the bow. The hair will shorten slightly as it dries — this is normal and expected. Professional rehairers account for this shrinkage when cutting to length.
Step 3: Insert the Hair at the Tip
Start at the tip end of the bow. Insert the bound end of the hair bundle into the tip mortise. The hair should fit snugly but not be forced in. If it is too loose, the bundle is too thin; if it will not fit, you have too many strands.
Fit a new or cleaned wedge into the mortise to lock the hair in place. The wedge should press the hair firmly against the interior wall of the mortise. Tap it in gently with the handle of your screwdriver — never hammer it. A cracked tip mortise is one of the most expensive repairs in violin bow work.
Ensure the hair fans out evenly from the tip, lying flat and parallel. No individual hairs should cross over others.
Step 4: String the Hair Through the Bow
With the hair secured at the tip, lay the bow flat and run the hair along the length of the stick. Slide the ferrule (the small metal piece at the base of the frog) onto the hair.
Thread the free end of the hair through the frog’s mortise opening. The hair should pass through cleanly without twisting. Use a comb to keep the strands parallel as you work them through.
Important: The frog can be removed from the stick on most bows. If you are struggling with clearance, work on the frog separately before reattaching it to the stick.
Step 5: Secure the Hair in the Frog
With the frog resting in its channel on the stick (but not screwed in), pull the hair taut — firm but not so tight that it bows the stick backward. The hair should just barely touch the stick when the bow is at rest (not tightened).
Bind the free end of the hair with thread, just as you did at the tip. Trim the excess hair below the thread wrap. Insert the wedge into the frog mortise to lock everything in place.
Reattach the frog by sliding it onto the stick and threading the bow screw back in. Turn the screw just enough to hold the frog in place.
Step 6: Let the Hair Dry and Settle
If you wet the hair during preparation, let it dry completely before tightening. As the hair dries, it will contract slightly. This is why you left a little slack — if you strung the hair too tightly while wet, it may pull the stick into an unnatural curve or even crack a mortise as it dries.
Give it at least a few hours. Some professionals recommend letting it sit overnight.
Step 7: Tighten and Apply Rosin
Once dry, tighten the bow to normal playing tension using the screw. The stick should maintain its natural camber (the slight inward curve). If the stick looks straight or bows backward, the hair is too tight — loosen the screw and reassess.
New horsehair is completely smooth and will not grip the strings at all. You need a thorough initial rosining:
- Crush a small amount of rosin into powder and rub it into the hair with your fingers to create an initial layer of grip.
- Then apply rosin normally by drawing the cake along the full length of the hair, using short, firm strokes. This first application takes significantly more passes than routine rosining — expect 60 to 100 strokes.
- Test on your violin strings and add more rosin as needed until the bow grips consistently.
Light rosin works well in most climates. In cold or dry conditions, darker rosin provides more grip. For humid environments, stick with light rosin to avoid excess stickiness.
Common Mistakes to Avoid
- Using too few hairs. A thin ribbon lacks the surface area for consistent tone. Aim for 150 to 200 strands depending on bow size.
- Stringing too tight while wet. Hair shrinks as it dries. If you set it taut while wet, you will end up with excessive tension that pulls the stick into a recurve.
- Forcing wedges. A cracked mortise is a costly repair. Wedges should fit snugly with gentle pressure, not brute force.
- Skipping the comb. Tangled or crossed hairs produce uneven friction and a scratchy sound.
- Reusing damaged wedges. If a wedge is chipped, cracked, or compressed, replace it. Wedges are cheap; a loose wedge that lets hair slip is not.
DIY vs. Professional Rehair
| Factor | DIY | Professional |
|---|---|---|
| Cost | $15–$30 for materials | $50–$80 per rehair |
| Time | 1–3 hours (beginner) | 20–45 minutes |
| Risk | Moderate to high on valuable bows | Very low |
| Quality | Inconsistent until you have practice | Consistent |
| Best for | Student bows, learning experience | Performance bows, anything valuable |
If you are shopping for a bow that is easier to maintain, our guide to the best violin bows covers options across price ranges. Beginners may also find our beginner violin guide helpful for choosing a first instrument and bow as a matched set.
Extending the Life of Your Bow Hair
Good habits between rehairs can significantly extend the life of your horsehair:
- Loosen the bow after every session. This prevents the stick from losing its camber and reduces stress on the hair.
- Wipe rosin dust off the stick with a soft cloth after playing. Rosin buildup can damage the finish over time.
- Never touch the hair with your fingers. Skin oils contaminate the hair and prevent it from holding rosin. This is one of the most common causes of premature rehairs.
- Store your bow in a quality violin case with a bow holder that keeps the hair from contacting anything.
- Cut broken hairs — never pull them out. Pulling a hair from the tip or frog can loosen the wedge and destabilize the entire ribbon. Use scissors or a knife to cut them flush.
- Control humidity. Extreme dryness or humidity affects hair tension. A case humidifier helps in dry climates.
Proper care of your bow is just one part of overall violin maintenance. A well-maintained bow paired with a properly set up instrument — including the right shoulder rest and correctly sized violin — makes a noticeable difference in playability and sound.
Frequently Asked Questions
How long does a bow rehair last? With regular playing (30 to 60 minutes daily), expect 6 to 12 months between rehairs. Professionals who practice several hours daily may need a rehair every 3 to 4 months.
Can I use synthetic hair instead of horsehair? Synthetic alternatives exist, but most players and luthiers prefer natural horsehair. The microscopic scales on real horsehair hold rosin more effectively, producing better grip and tone. Some carbon fiber and composite bows are designed for synthetic hair — check your bow’s specifications.
Does the color of horsehair matter? White hair is standard for violin bows. Some cello and double bass players prefer black hair, which is slightly coarser and grips more aggressively. For violin, white is the conventional choice.
How do I know if my bow is worth rehairing? If the rehair costs more than the bow is worth, consider upgrading instead. A $30 student bow is not worth a $70 rehair. Our guides to intermediate violins and the differences between viola and violin or cello and violin can help if you are considering a change.
Can I rehair a carbon fiber bow the same way? The process is similar, but carbon fiber bows sometimes have different mortise designs or use proprietary wedge systems. Check your bow’s documentation or contact the manufacturer before attempting a DIY rehair.